Create invoices in Freshbooks
By using Zapier, when you issue an invoice in ServeManager, the same invoice will then be automatically created in FreshBooks.
To create this integration, you will need the following:
- Generate Your ServeManager API key
- A FreshBooks account
- A Zapier account
Once this information is collected you can begin building the integration by selecting this Zapier template.
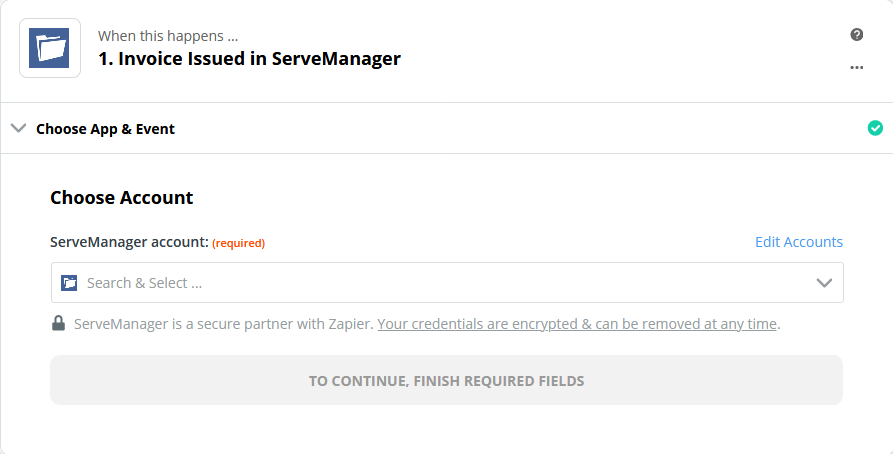
In Step One, you will select the pull down menu and select the add a new account option.
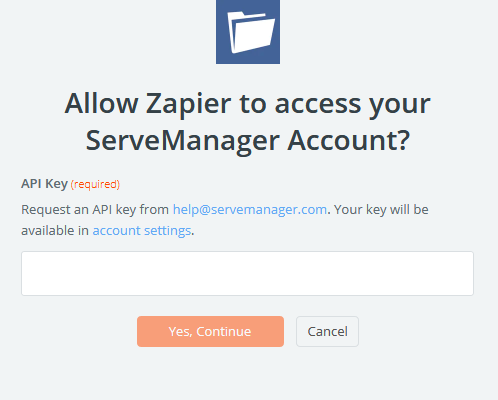
In this generated window, enter your ServeManager API key that you requested. You can find your API key at the bottom of your settings page.
Once your account has been connected, you can test the connection and continue to the next step.
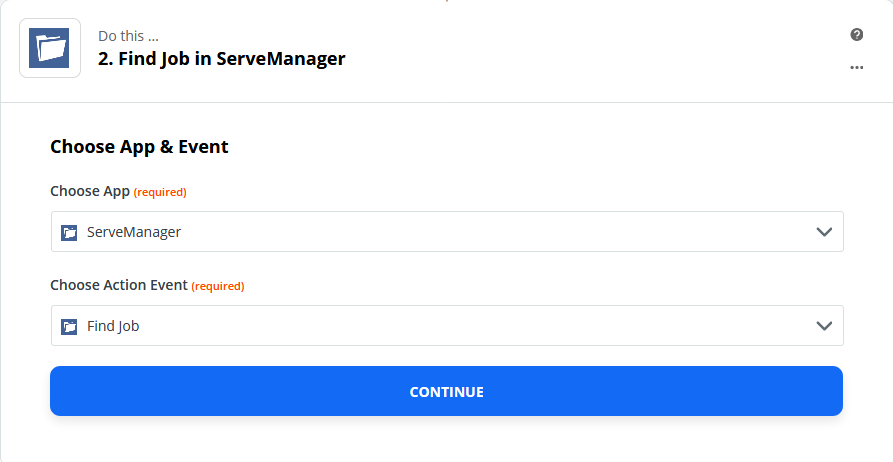
When you begin Step Two, you can select Continue in the first window. The template has already selected the correct options for you.
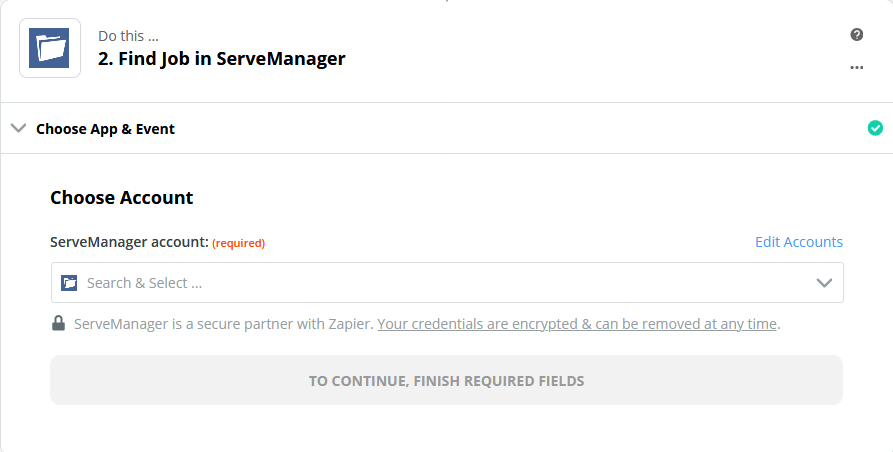
In the next window, use the pulldown menu and select your ServeManager account that you entered in Step One.
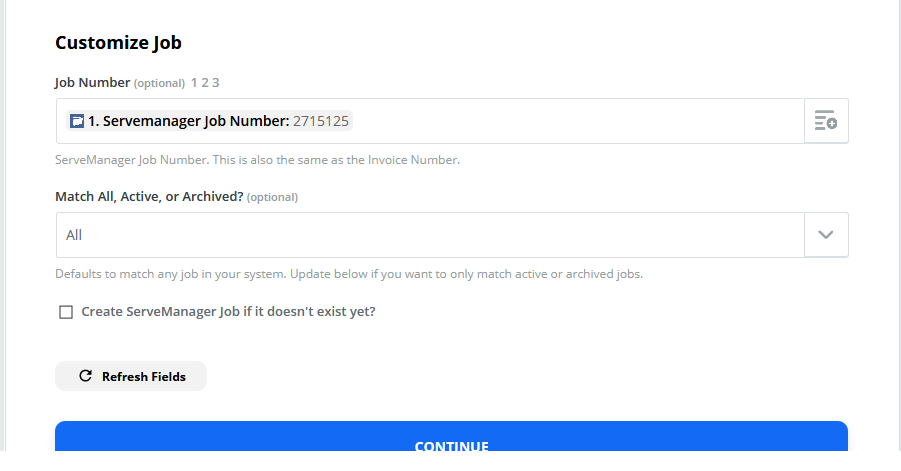
In the next window you can select Continue, the template has already set up this information for you.
In Step Two’s last window, you can select the Test and Continue button, to continue on to step 3.

Step Three begins with the correct options already selected. Select the Continue button.

In the next window, you can select the Sign in to FreshBooks New button, to connect your FreshBooks account.
Enter your account login credentials to log into your FreshBooks account, and then allow Zapier access to your FreshBooks account.
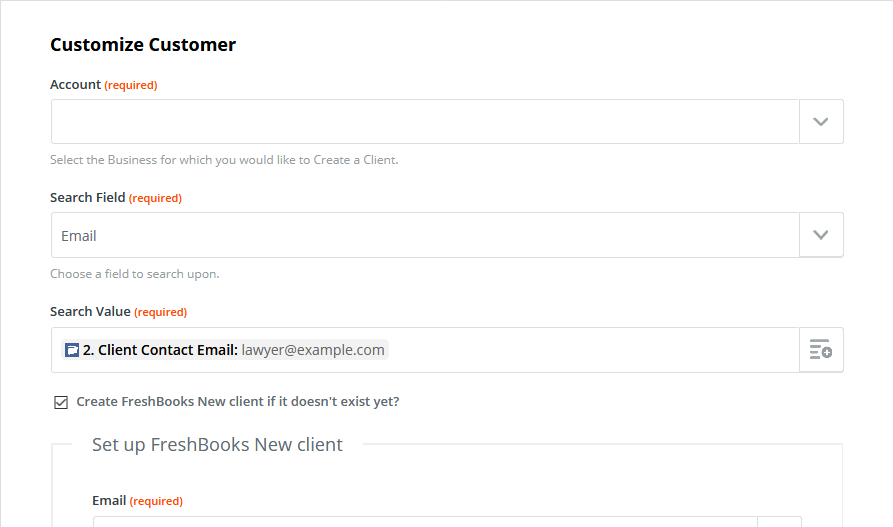
In the next screen, use the account pulldown menu and select your FreshBooks account.
The rest of the screen has already been filled out for you, you can select continue to advance to the next screen, where you can review the information and continue once again to the next Step.

When you begin Step Four, the correct options have already been selected, you can select Continue to advance to the next window.
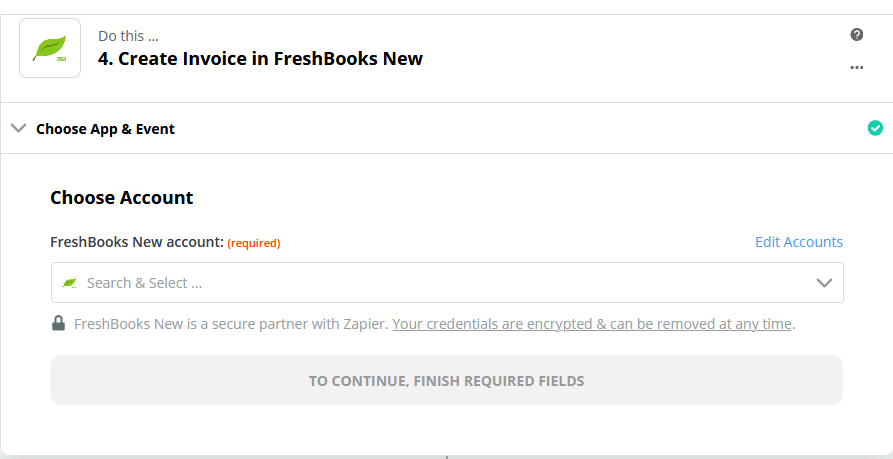
In the next window, you can select the FreshBooks account you set up in Step Three.
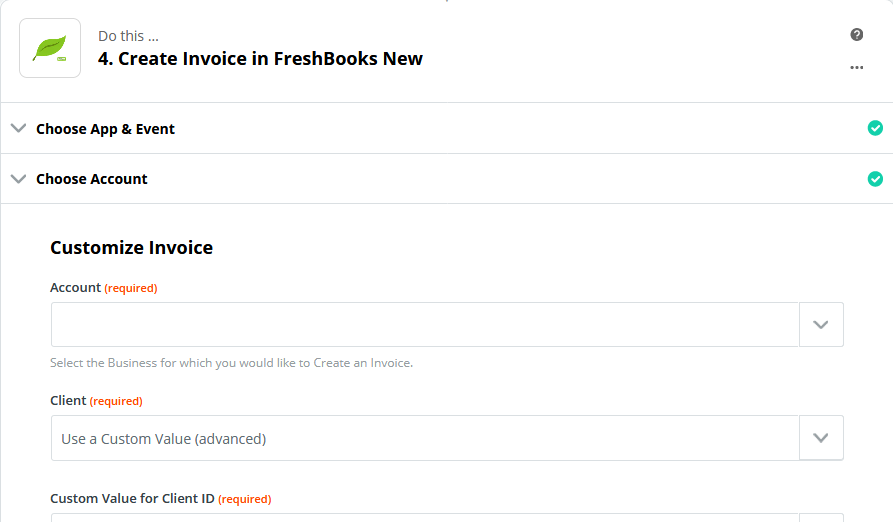
In this window, you will use the Account pulldown menu, similar to Step Three, and select your FreshBooks account. The rest of the options have already been selected for you. You can select Continue to advance.
In the final window you can review and continue.
Finally, you can turn on your Zap. Now when invoices are issued in ServeManager, the data will be transferred, and a new invoice will be created in your FreshBooks account.